• Step-by-step guide to proper vapor barrier installation for commercial roofs
• List of common mistakes in vapor barrier installation and tips to avoid them
• Advice on choosing materials and professional insights for lasting roof protection
Understanding the Importance of a Vapor Barrier in West Florida
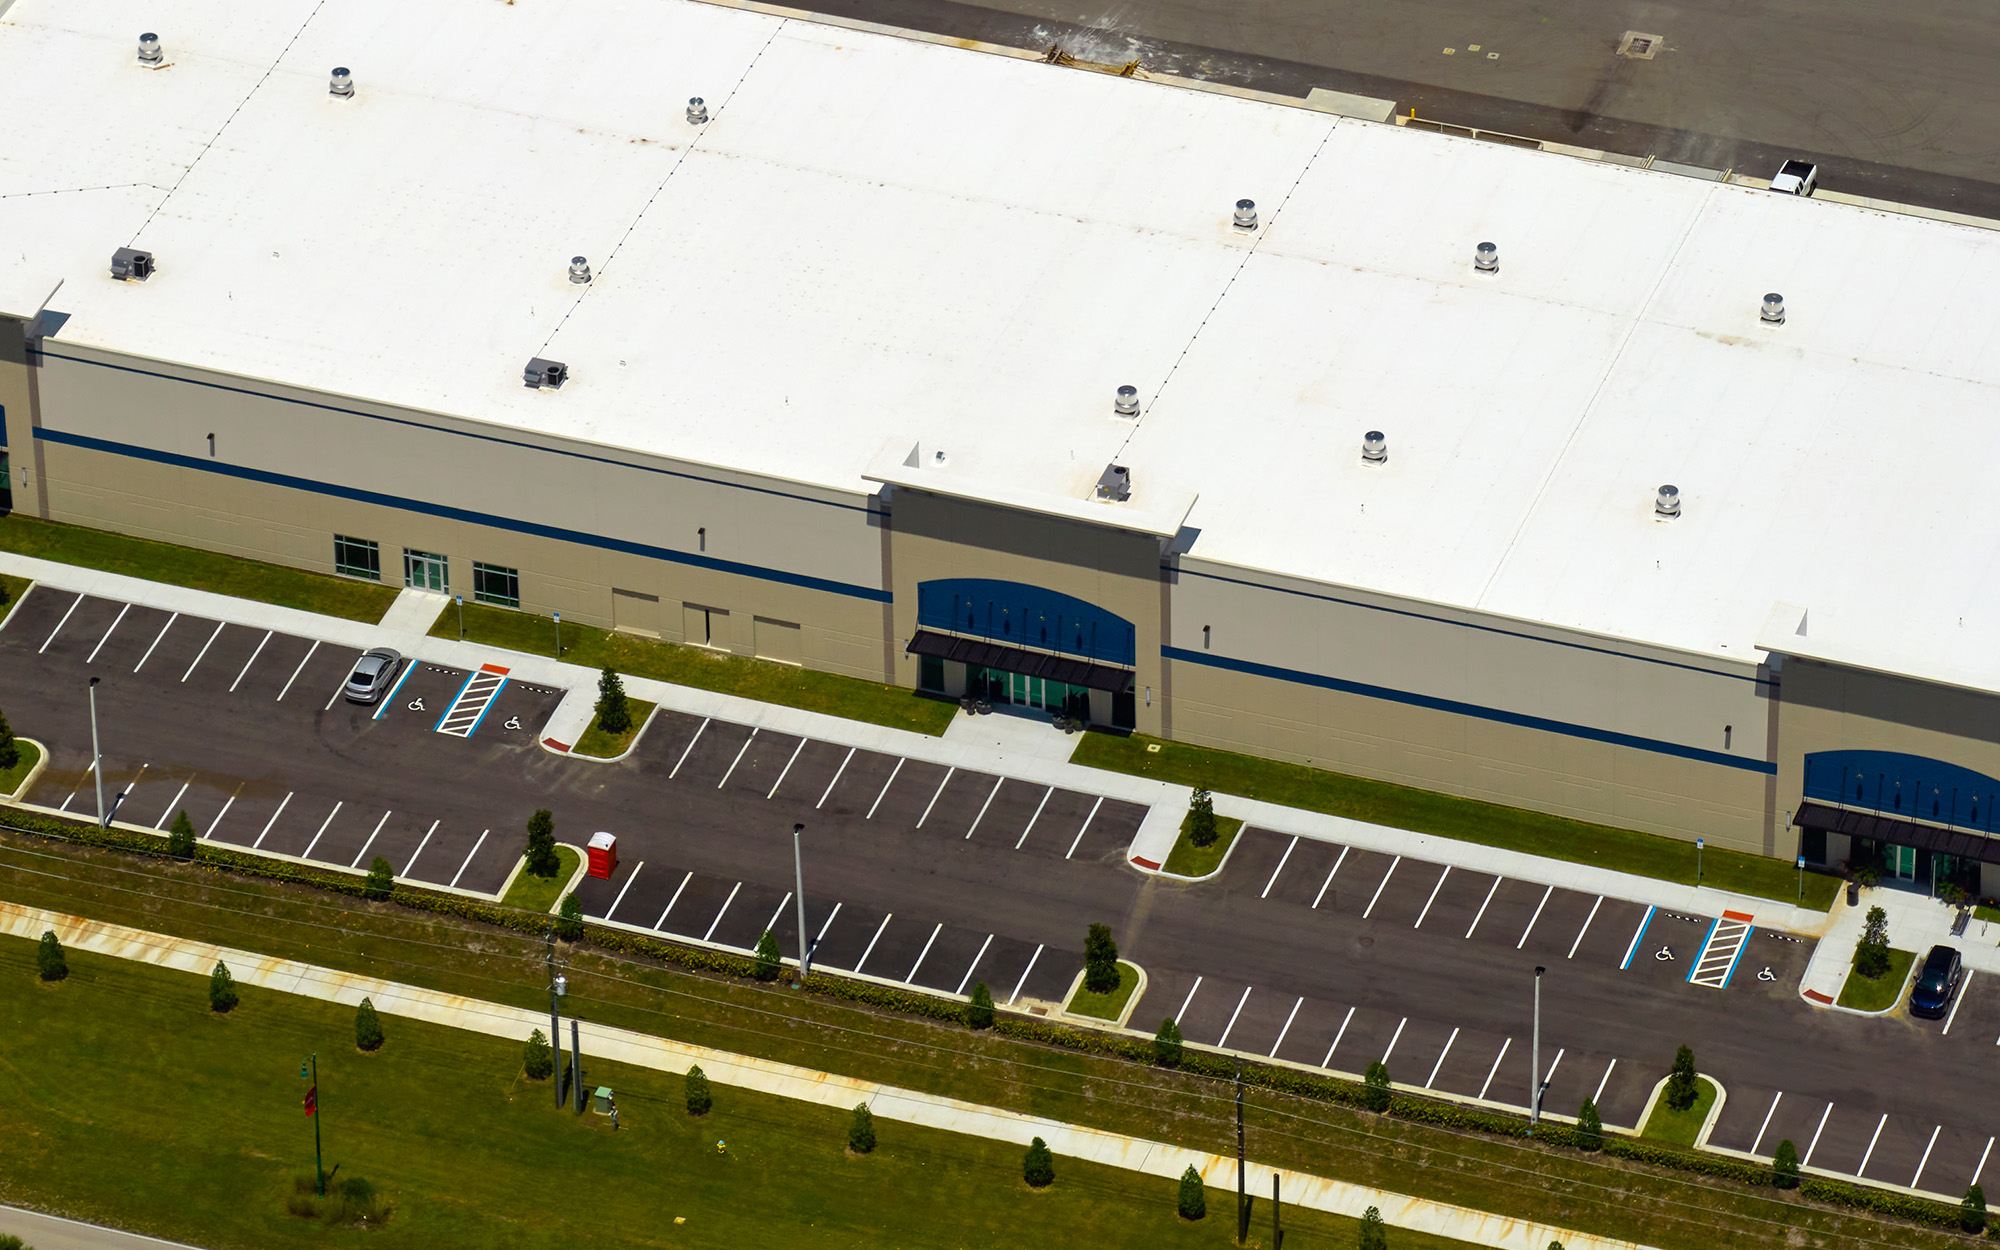
In the sunny climes of West Florida, commercial roofing is subjected to a unique set of challenges, especially when it comes to managing humidity and preventing moisture damage. Before considering the installation of a commercial roofing vapor barrier, it’s essential to identify telltale signs of moisture issues. Look for roofing system condensation, which often manifests in unwanted drips or damp spots on ceilings. Another indicator could be mold growth, a health hazard that thrives in moist environments and can deteriorate roofing materials over time.
Choosing the Right Time to Act
Timeliness is critical when addressing potential moisture problems in your roofing system. Rather than waiting for visible water damage, proactive checks during the drier fall season can save extensive costs down the line. Regular inspections can unveil hidden issues, such as corrosion of metal components or rot in wooden structures, which are silent harbingers of moisture infiltration. By detecting these early signs, building managers can ensure necessary interventions are less intrusive and more cost-effective.
Preparing for Vapor Barrier Installation
Once the decision has been made to install a commercial roofing vapor barrier, preparation is key. The roofing surface must be thoroughly inspected and cleaned, removing any forms of debris and moisture. This stage cannot be overlooked, as the success of the installation hinges on a clean, dry, and smooth surface for the vapor barrier to adhere to properly. Accurate measurements and careful planning at this stage set the foundation for an effective vapor barrier installation crucial to the longevity of your commercial roofing in West Florida.
Selecting the Right Material for Your Vapor Barrier
Selecting the appropriate vapor barrier for your commercial building is a critical decision that directly affects the longevity and durability of your roofing system. From the plethora of options available, it’s pivotal to choose a material that can withstand the sometimes harsh and humid climate of West Florida. Consulting with experienced professionals at The Superior Group can provide insight into the most suitable vapor barrier products that align with both your building’s specific needs and climate considerations. The correct selection of a vapor barrier ensures efficient moisture control, which is paramount for the protection of the underlying roofing structure.
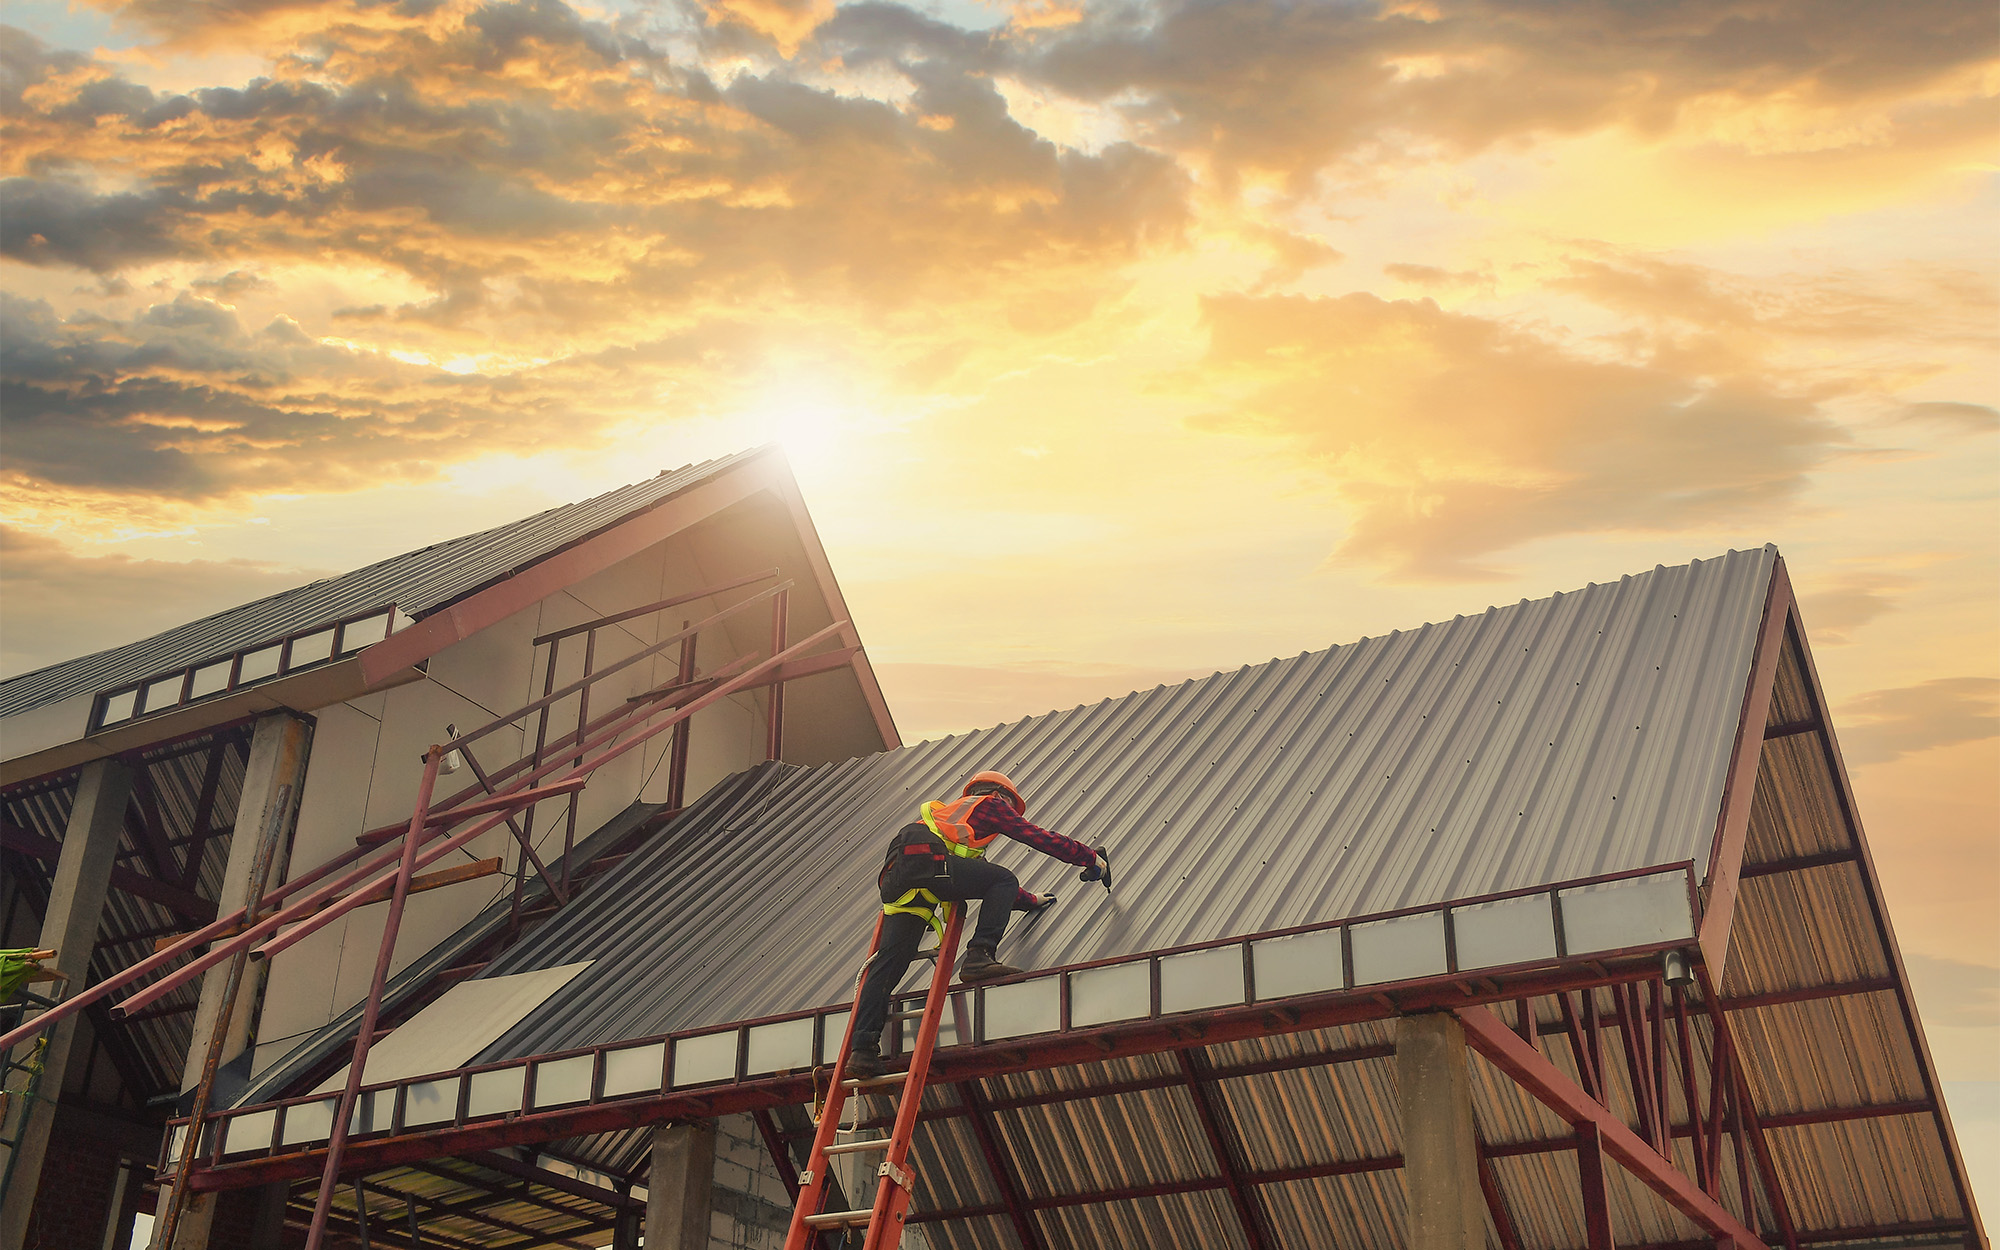
Implementing Vapor Barrier Installation
The process of installing a vapor barrier is meticulous work that demands precision and attention to detail. The first step involves an exact measurement and cutting of the material, ensuring that every square inch of the roof is covered and protected from potential moisture intrusions. During installation, it’s vital that the vapor barrier is laid down flat and secured, taking care not to leave any unsealed gaps. A professional team, such as those at The Superior Group, trained in the intricacies of commercial roofing, is key to a successful installation, guaranteeing the vapor barrier functions effectively and extends the life of your roof.
1. **Step One: Assess the Need for a Vapor Barrier**
Start by evaluating your commercial property to determine if a vapor barrier is necessary. This means looking for signs of moisture issues, such as condensation or mold, particularly in areas with high humidity, like West Florida during fall season.
2. **Step Two: Choose the Right Vapor Barrier Material**
Research and select the appropriate vapor barrier material that suits the climate of West Florida and the specific needs of your commercial roofing. Consider factors such as permeability and durability.
3. **Step Three: Prepare the Roofing Surface**
Clean the roofing area where the vapor barrier will be installed. Ensure it is free of debris, moisture, and damages. This preparation is crucial to ensure the barrier adheres properly and functions effectively.
4. **Step Four: Measure and Cut the Barrier Accurately**
Carefully measure the roof area and cut the vapor barrier material accordingly. Accurate measurements are key to avoiding gaps and ensuring the entire surface is covered, which is essential in the effectiveness of the installation.
5. **Step Six: Install the Vapor Barrier**
Lay the vapor barrier onto the prepared surface, starting from one end and slowly moving to the other. Use proper techniques to secure the barrier in place, depending on the type of material you have chosen.
6. **Step Seven: Seal Seams and Penetrations**
Once the vapor barrier is laid out, seal all the seams and penetrations to prevent moisture penetration. This might include areas around vents, pipes, or any other fixtures on the roof.
7. **Step Eight: Inspect and Test the Installation**
After installation, conduct a thorough inspection to ensure the vapor barrier is properly sealed and secured. It’s also wise to test its effectiveness, especially before the wetter season sets in, to ensure your commercial property is protected.
Avoiding Common Vapor Barrier Installation Mistakes
Installing a vapor barrier in West Florida can be a delicate process, and sometimes enthusiasm can lead to lapses in focus. Understanding the most common pitfalls can save time, resources, and ensure your vapor barrier functions optimally. In the spirit of doing things right the first time, let’s explore the errors frequently made during the DIY installation of a commercial roofing vapor barrier.
1. Skipping the Assessment Phase
One common mistake is neglecting to conduct a thorough assessment of the need for a vapor barrier. This oversight can result in unnecessary work or the failure to address critical moisture issues that a vapor barrier could solve. Always start by checking for signs of moisture, such as condensation or mold, to ensure a vapor barrier is indeed required for your commercial roof.
2. Choosing the Wrong Vapor Barrier Material
Another error is selecting materials that are ill-suited for the specific climate and needs of your roof. Remember, not all vapor barrier materials are created equal; some are more or less permeable and durable than others. To avoid this mistake, invest adequate time in researching and selecting a material that’s appropriate for the often humid conditions in West Florida.
3. Poor Surface Preparation
Failure to properly prepare the roof surface before installing the vapor barrier is a critical error. An unclean or damp surface can lead to poor adhesive contact and diminished barrier effectiveness. Prioritize cleaning your roofing area thoroughly to ensure the vapor barrier adheres properly and functions as intended.
4. Inaccurate Measurement and Cutting
Mismeasuring and improperly cutting the vapor barrier material can lead to gaps or excess, both of which compromise the integrity of the vapor barrier. To prevent such errors, measure the roof area carefully and cut the material with precision, verifying measurements twice to cover the entire surface adequately.
5. Incorrect Vapor Barrier Installation
Incorrectly laying down the vapor barrier is a frequent mishap. It is crucial to apply it starting from one end and progressing to the other while securely fastening it to prevent air pockets or folds. Use the correct installation techniques suited to your selected vapor barrier material for the best outcome.
6. Incomplete Sealing of Seams and Penetrations
Neglecting to seal all seams and penetrations thoroughly is a slip that can lead to severe moisture problems down the line. Ensure that every seam is sealed, and that areas around vents, pipes, and any other fixtures on the roof are properly addressed to prevent moisture penetration.
7. Forgoing the Final Inspection
Skimping on the final inspection after installing the vapor barrier can lead to missed weaknesses in the installation. Always conduct a detailed final inspection to verify the vapor barrier is properly sealed and secure to protect your investment against West Florida’s weather conditions.
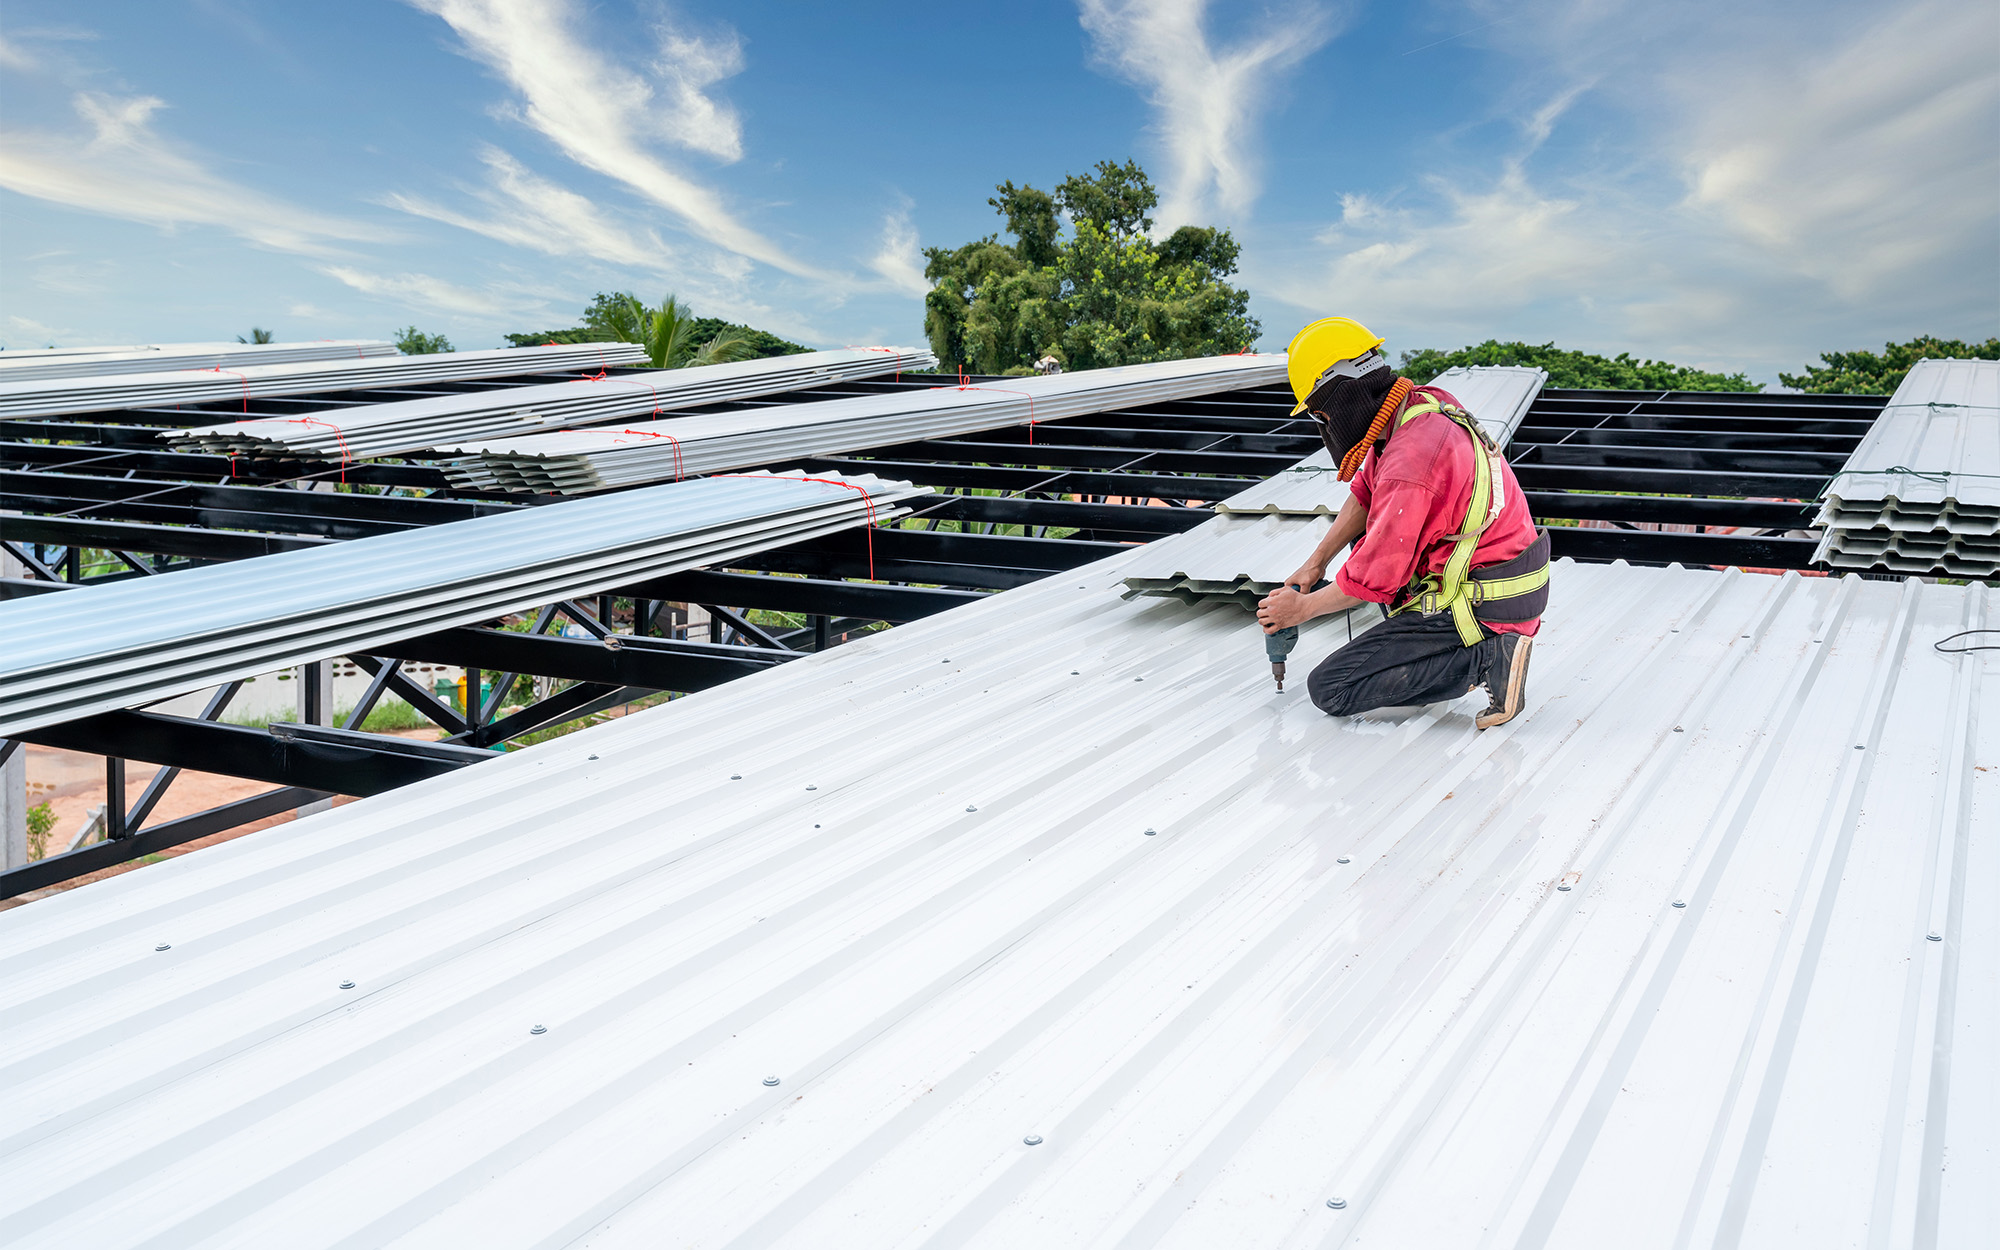
Ensuring a Flawless Vapor Barrier Fit
Precise application is vital when installing a vapor barrier; it’s the difference between a roof that’s safeguarded against moisture and one that’s susceptible to leaks. After spreading the vapor barrier across the roof’s surface, it’s essential to secure and seal all seams meticulously to prevent any moisture infiltration. For those seeking expert guidance, partnering with The Superior Group can assure that every detail is attended to, ensuring success in this critical phase of installation.
Final Inspection: The Key to Long-Lasting Protection
The importance of a thorough final inspection cannot be overstated—this step confirms that your commercial roof is fully protected by the new vapor barrier. Ensuring all edges are sealed, penetrations are covered, and there are no visible defects form the cornerstone of a reliable roofing system. By investing this attention to detail now, you secure the long-term health of your commercial property against the challenging weather conditions of West Florida.